
I already bought the Launcher Strike after a few months when it was released. Then rumors came that Skygrasper+Aile will be released in the market but there were no images of it yet. I had to wait because of that.
I also got the urge of getting Daban Model's Aile Strike and just get the Aile Pack for my project. But friends suggested to wait it out to complete all of Dragon Momoko's package for Strike.
I think it took me more than 5 months of waiting just to get my hands on Skygrasper+Aile. I was very glad that the the wait was worth it.
Another good news was that a client asked for some custom decals and the payment was the Sword Strike.
Now the question arrives for all of those who want to purchase them - "Are these kits worth it?"
For me, I will say yes but you have the decision to buy them or not.
This review is old and many builders/consumers already got the Perfect Strike of Dragon Momoko. But I still want to share my experiences about this kit so that I can help others get a good start. I started this kit January 23, 2016 and finished it after 1 weeks.
Also, I would like to thank a friend, Lefeoj, who helped me get the Sword pack.
I would like to apologize that there will be visible nub marks on the featured kit. If there are any errors (spelling, grammar), please do mention them on the comments section. If there are also any errors on the terminologies used, please do correct me.
Unboxing:

So here's my dark workstation but I will build the kit outside during the day and continue back here during the night.
I will begin with the Strike MS, then Launcher, then the Sword, then Skygrasper, and the Aile Pack will be the last.
Please take note that not all runners are undergated. Be sure to check those gates nubs before fitting them to avoid mistakes I did same on Akatsuki.
I will begin with the Strike MS, then Launcher, then the Sword, then Skygrasper, and the Aile Pack will be the last.
Please take note that not all runners are undergated. Be sure to check those gates nubs before fitting them to avoid mistakes I did same on Akatsuki.
Construction Manual/Runners:

I love the details compressed into that 1/100 scale.
The paper is quite glossy and thick where you can see the finished model on the front page.
The next images will be the runners. I also included the runners of the Launcher. I'm supposed to make a separate section for them but I forgot to take pictures of the Sword Pack's runners Feel free to ask questions or add comments if I have missed something.
 |
 |
 |
 |
 |
 |
 |
 |
 |
 |
 |
 |
 |
 |
 |
 |
 |
Well I kind of tested the uniball signo metallic green here as you can see on the image. The outcome is satisfactory and will use this pen to add minor detailing.
If you're wondering why I got two sheets of WS decals, it was an extra gift included from the Sword Pack given to me.
And now that you've seen all the runners, let's start checking each part of Strike Gundam.
And now that you've seen all the runners, let's start checking each part of Strike Gundam.
Body Unit:

I love the detailing and parts separation here in the Body Unit. Credits goes to Momoko this time for making this happen. Back then, Dragon Momoko lacks quality on their boxes and the plastic quality is not *that good either. Now, they are finally stepping up in their plastic quality.
Bandai have flaws, and so is Dragon Momoko. Not all kits from each side are perfect so let's be calm here a bit. :D
Anyways, there are no snap fitting issues - everything fits perfectly fine.

I love the detailing and parts separation here in the Body Unit. Credits goes to Momoko this time for making this happen. Back then, Dragon Momoko lacks quality on their boxes and the plastic quality is not *that good either. Now, they are finally stepping up in their plastic quality.
 |
 |
 |
Bandai have flaws, and so is Dragon Momoko. Not all kits from each side are perfect so let's be calm here a bit. :D
Anyways, there are no snap fitting issues - everything fits perfectly fine.
And because I still don't have the skills to paint my kits, I used my pens again to add my own minor detailing.
I'm using Uniball Signo angelic blue and Uniball Signo metallic green.
I'm using Uniball Signo angelic blue and Uniball Signo metallic green.
Head Unit:

No issues on the molding and there were no warped parts.Snap fitting is okay too.

No issues on the molding and there were no warped parts.Snap fitting is okay too.
Instead of using the foil stickers, I decided to use my Uniball Signo metallic gold pen for the eyes and added black using Unipin 0.05.
 |
 |
Arm Unit:

I don't like the quality of the manipulators (hands). They were quite soft and there's a tendency where the ball joint that connects to the arm tends to pop out.
 |
 |
 |
The arm can bend this much which is nice. Results in articulation will probably change once you add the shoulder armor.
Waist:


The front and back skirts have no major snap fitting issues.
So there's a minor issue. This minor issue is that there are times pops off from the inner frame. You might want to glue them especially when you try those complex/extreme/dynamic posing with the MS.
So there's a minor issue. This minor issue is that there are times pops off from the inner frame. You might want to glue them especially when you try those complex/extreme/dynamic posing with the MS.


I add some minor detailing here and I have added some metallic green on the front skirt that you will notice later.
Also, I used a mechanical pencil instead of the usual ink from pens when doing panel lines. I was afraid that the ink might scatter on the part once I apply the WS decals.
Shoulder/Upper Body Unit:


Very straightforward and there aren't any loose parts here.

The parts fits just fine. I added some metallic green here to add some minor detailing.
Leg Unit:

The leg design is simple but I love the parts separation made by Dragon Momoko. The awesome detailing added into the design gave the Strike an edge against the other Strike Gundam kit made by TTH. The sharp detailing of the strike covers the simplicity of other parts.


I assumed too much that everything is fine, but an issue occurred on the part XA-30. I looks like a piston when you bend the leg. It has a tendency to pop off from the male peg as you bend the knees continuously (2nd picture above). But don't apply any glue as it will affect the articulation.
Sorry about the camera flash. :v
Moving on, there are no loose parts on Strike's outer armor. no snap fitting issues
 |
 |
 |
Moving on, there are no loose parts on Strike's outer armor. no snap fitting issues
Articulation is great and the legs can bend this much
Side Skirts: w/ Armor Schneider:


If the color is off, just let them be. I'm supposed to use green but I thought of using aneglic blue. LOL >_<

Weapon Unit:
Launcher Unit:

Launcher Unit:

I'm supposed to include the parts for the mechanical arms, backpack, and that gatling gun all in the same board, but I figured it would take me a lot of time trimming the nubs and I don't want to misplace any small part.


So here they are after trimming the nubs.
 |
 |
 |
I used unibal signo metallic green here. I didn't knew the launcher can be extended a bit and flip those parts up. O_O
What a neat feature/gimmick. :D
 |
 |
 |
But when you try to slide pull half of the launcher's body, that part with 5 holes/round vents? They tend to pop off. If you can add some way to make it tight, then that's good.
I'm getting fond with this Signo pen. I need to invest for gundam markers for better quality of course but my budget is getting shortened each time a new kit is released.
Instead of using the foil sticker for that clear part on top of the launcher, I used signo again on the back side so that the color will pass through.

And here are the parts for the mechanical arms, the backpack, and the gatling gun that you can mount on the shoulder armor. The sharpie was bad, but that's the only marker I have to add silver. >_>


Sword Unit:


I will only share the parts needed for the Sword Pack. I would like to apologize I don't have any pictures of the Sword Pack's runners. I guess I was in a hurry to finish the model back then.


The boomerang is a bit loose. I won't be using it and I don't have the beam effects so I applied some glue :v
I didn't expect Momoko would make 2 types of sword tip. :D
I used the one which resembles the original design.
I used the one which resembles the original design.
 |
 |
 |
 |
 |
Coffee break at 9:00 pm. Parts separation and detailing is really good. This is really a nice feat especially for those who love to work on a lot of panel lines. Compare to Bandai's first Sword/Launcher Strike, the Sword's Shoulder Armor covers the normal one. But here in Dragon Momoko's version, you can only choose one and I lack a single part to switch between that and the normal shoulder armor. Fortunately, I was saved by the Skygrasper kit which I will mention later.

Here are the rest of the armaments to form Sword Strike Gundam.
 |
 |
 |
 |
 |
 |
There aren't much issues here. Just a few tight pegs that aren't so serious.
Aside from the missing runners with beam effects, I also forgot to mention to my friend that the cable for the grappling hook is missing >_>
Then after finishing the kit, I found the beam effects and the wire for the grappling hook. There are no new images using the beam effects because I was already lazy.
Then after finishing the kit, I found the beam effects and the wire for the grappling hook. There are no new images using the beam effects because I was already lazy.
But even without the beam effects, the sword is full of cool and intricate details. I added some minor detailing on the part where you can attach the sword because I will add it on the Aile Pack.
I won't be using Launcher and Sword back packs because I'm going for Perfect Strike.
But I will apply some WS decals on them to make them look neat. :)
But I will apply some WS decals on them to make them look neat. :)
Beam Rifle and Shield:


Very straightforward with no overwhelming parts separation. But the detailing makes up for it. :)
Skygrasper+Aile Pack:

I'm really glad Dragon Momoko made some way to form the Perfect Strike.
Dragon Momoko also released separate launcher and sword packs which is good for consumers so they won't buy 2 kits and sell the extra Strike MS.


I'm really glad Dragon Momoko made some way to form the Perfect Strike.
Dragon Momoko also released separate launcher and sword packs which is good for consumers so they won't buy 2 kits and sell the extra Strike MS.

The manual is glossy as always and it features a lot of pages what other backpacks you can attach on Skygrasper. Spoiler not added. :D

Yeah I dumped them all on the table to start checking the runners. :v
 |
 |
 |
 |
 |
 |
 |
 |
 |
 |
 |
 |
 |
 |
 |
 |
 |
 |
 |
 |
 |
 |
 |
 |
The kit have a whopping 29 runners. They are small runners though that's been crammed inside the box.
They've included 2 more runners with different colors - red and green. You can use these to match Skygrasper for either Launcher or Sword packs on it.
I'm suprised they included this runner (Runner G) even though you won't be needing it. :D
The G2 parts are needed so you can use the normal shoulder armor I mentioned earlier and switch back to the other shoulder armor.

The G2 parts are needed so you can use the normal shoulder armor I mentioned earlier and switch back to the other shoulder armor.

I already scanned this WS sheet. I want to duplicate this for future projects. :)
Skygrasper Unit:

I started with the Skygrasper and here are the parts.
Well I do forgot some parts and they were still in the runners. But yeah, these are most of the parts you will need to build the Skygrasper. XD
I started with the Skygrasper and here are the parts.
Well I do forgot some parts and they were still in the runners. But yeah, these are most of the parts you will need to build the Skygrasper. XD

Coffee break!
The parts separation for Skygrasper is really amazing. Plus those details and sharp edges are remarkable. These just gives you plenty of ideas which parts should be painted. It would be a lot of work but I'm sure you guys will find some ways. (~^w^)~
The parts separation for Skygrasper is really amazing. Plus those details and sharp edges are remarkable. These just gives you plenty of ideas which parts should be painted. It would be a lot of work but I'm sure you guys will find some ways. (~^w^)~
 |
 |
 |
Minor detailing again using Uniball Signo angelic blue.
 |
 |
 |
And I'm done...
The wings can be pulled backwards giving it a slanted look. Aside from the usual beam cannon on top that can be rotated, there are no other gimmicks.
Action Base / Launch Base:


The main base stand or action base is huge and it's almost the same size you usually see on Perfect Grades. The kit also include a smaller action base which is designed for the Skygrasper.
This concludes that you are made to purchase the Skygrasper+Aile kit so Strike can have a decent action base/stand. :v
This concludes that you are made to purchase the Skygrasper+Aile kit so Strike can have a decent action base/stand. :v
After a while, Dragon Momoko finally decided to sell these action base/stands in a separate manner.
Aile Unit:
 Here are the parts that will build the Aile pack.

 |
 |
 |
Half of the Aile pack's body can be pulled outward and will show you 2 female pegs on both sides. You can add those 2 extension female pegs (as shown) to place the launcher's mechanical arm and the sword's connector.
 |
 |
 |
I'm done and completed it with a few more metallic green and metallic red to give the Aile pack some extra detailing of my own.


Now ddding the Aile on the back of the Skygrasper to complete the model. :)
Overall there were no big issues when it comes to snap fitting. Parts were a little tight, but just right to pull out some pegs in case you want to make some changes.
A minor issue is that the Sword's connector uses a ball joint that you must place on the Aile Pack's right side. It's very loose and I had to ask for advice on what to do.
A member of GBP said to cut a piece from the runner and use it as sort of a male peg. That did the trick for me. :D

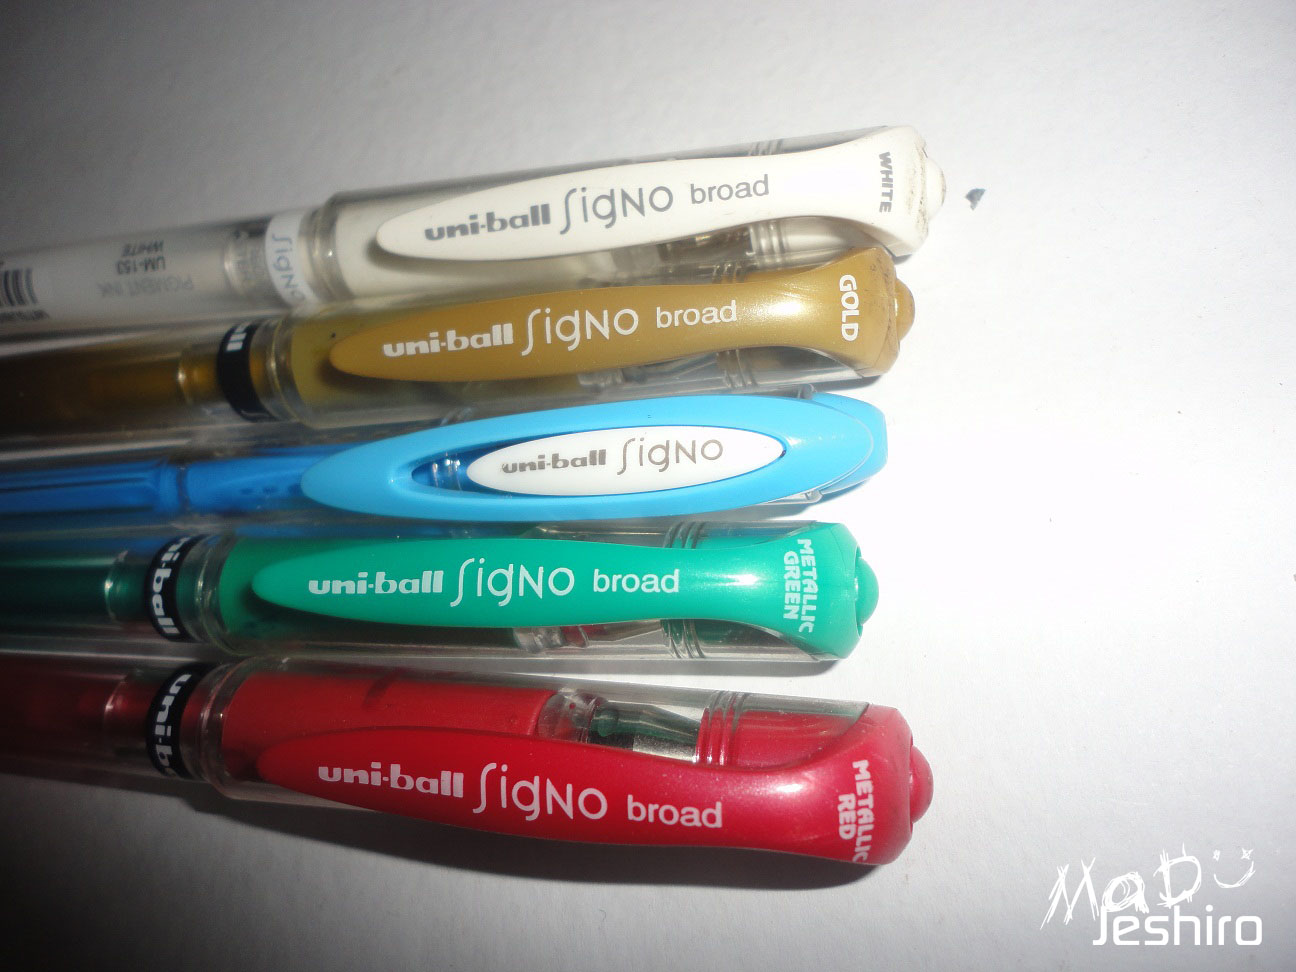
In case some of you might ask what do this Uniball Signo looks like, here are the images. These are the pens I used to add some minor detailing.
The one in the middle is "Angelic" color.
Decals:

Quality of the WS decal is really nice and I will surely apply all of them. >:D
 |
 |
 |
 |
 |
 |
These are just some samples of the parts with WS decals applied. Just be sure to let them dry carefully. Don't complain if the seals gets torn off. As long as you are careful with the model, then there is no need to use mark softener. Of course, the issue is different if the WS decal's quality is really bad.
Completed Model:
The Strike Gundam:
The Strike Gundam:
 |
 |
 |
 |
 |
 |
Please don't mind me why I always like to do that "high kick" pose. :v
The Sword Strike Gundam:
 |
 |
 |
 |
 |
 |
 |
 |
 |
 |
 |
 |
The Launcher Strike Gundam:
 |
 |
 |
 |
 |
 |
You may think I'm cheating in that certain photo where Strike can stand straight while holding the cannon just because you can't see the tip, but it's totally unedited and there are no tools used to make him stand while holding the launcher. :v
It took me roughly 30 mins to get the good balance/weight distribution on that pose.
It took me roughly 30 mins to get the good balance/weight distribution on that pose.
The Skygrasper + Aile:
 |
 |
 |
Sorry that I didn't took some effort adding extra pictures for the Skygrasper. The model is really cool and detailing is neat.
The Aile Strike Gundam:
The Perfect Strike Gundam:
 |
 |
 |
 |
 |
 |
The Perfect Strike Gundam:
 |
 |
 |
 |
 |
 |
So here's my rating and comments.
Plastic Quality: 8.5/10
Yes it has that "WOW" factor because of the glossy finish. Regarding the nubs, I'm sure you can find some way to cover them perfectly. No warped or melted parts (this issue can be an isolated case). The detailing puts another "plus" to the kit.
Snap Fitting: 8/10
There may be several tight parts along the way but they weren't much of a big deal. I'm supposed to give this a 9 but the issue on that loose Sword's connector bugged me. All kits have the same issue so it can't be helped.
Articulation: 7/10
This rating is based on the overall articulation meant for Perfect Strike. If the articulation rating was just focused on just Strike, I would give it a 9. Anyways, posing is limited and the articulation range is decreased once you attached all the weapons to form the perfect strike. The huge cannon is really heavy and I recommend using the fixed hands from the Skygrasper kit.
Gimmicks: 7/10
Well I saw some nice feats from each section but most of them are on the weapons. The Strike is simple MS that has no other gimmicks aside from the armor schneider that can be pulled out from the side skirts. If Dragon Momoko designed the head part with LED, it could have changed the rating a lot.
Extras: 7/10
Regarding the Launcher Strike kit, you will use most of the parts. The Sword Strike kit gives you the beam effects and the wire for the grappling hook. The Skygrasper kit on the other hand boasts a lot of extras; the launch pad, the extra hands, the beam rifle and shield.
Overall Rating: 8/10
I think the overall rating suits the kits just fine in my own opinion.Yes it has that "WOW" factor because of the glossy finish. Regarding the nubs, I'm sure you can find some way to cover them perfectly. No warped or melted parts (this issue can be an isolated case). The detailing puts another "plus" to the kit.
Snap Fitting: 8/10
There may be several tight parts along the way but they weren't much of a big deal. I'm supposed to give this a 9 but the issue on that loose Sword's connector bugged me. All kits have the same issue so it can't be helped.
Articulation: 7/10
This rating is based on the overall articulation meant for Perfect Strike. If the articulation rating was just focused on just Strike, I would give it a 9. Anyways, posing is limited and the articulation range is decreased once you attached all the weapons to form the perfect strike. The huge cannon is really heavy and I recommend using the fixed hands from the Skygrasper kit.
Gimmicks: 7/10
Well I saw some nice feats from each section but most of them are on the weapons. The Strike is simple MS that has no other gimmicks aside from the armor schneider that can be pulled out from the side skirts. If Dragon Momoko designed the head part with LED, it could have changed the rating a lot.
Extras: 7/10
Regarding the Launcher Strike kit, you will use most of the parts. The Sword Strike kit gives you the beam effects and the wire for the grappling hook. The Skygrasper kit on the other hand boasts a lot of extras; the launch pad, the extra hands, the beam rifle and shield.
Overall Rating: 8/10
If you want to get the perfect strike without the hassle of hunting down the "almost rare" Perfect Strike of Bandai, then give Dragon Momoko a shot.
The kit will offer you good challenge, lots of panel lines to work on, good parts separation to test your ideas in custom painting... and some few probable injuries along the way. :v
But if you want to purse on Bandai, go ahead. I still notice few shops and resellers giving a nice price for the kit. I think it's a P-Bandai one if I'm not mistaken. Just correct me for this one.
You can also purchase a separate Bandai Aile Strike Rm and Launcher/Sword Strike.

