
There was a lot of noise and tension in Gunpla when a bootleg company announced the release of Destiny Gundam. Unlike any other kits, the design was copied from Bandai's Metal Build version.
Of course, this news also puts a barrage to the so-called "purists" who doesn't like people, anyone, that would purchase/build bootleg kits. I'm sure I would get a lot of negative comments, but I don't mind. I didn't enter this because I want admiration. I do this because I want to. (this quote sounds familiar :v )
Anyways, so back to the topic, the prototype (in resin) already appeared when Akatsuki was just about to hit the market. Many come in conclusion that it's not a resin conversion kit that Dragon Momoko would throw in our faces. Now that I managed to get this kit, I would like to share my experiences during the time I was building it.
If there are any typos, please do comment so I can re-correct them. Also, if you noticed any wrong terminologies in my review, please state them as well.
Unboxing:
 |
 |
 |
 |
 |
 |
I got excited after getting the kit and opened it inside my room for 2nd time (the first was the inspection). The box is bigger than the Strike Gundam units. The reason is that there's a launch pad inside. This is a base stand/action base of sort for the model.
I was still busy at work so I took photos of runners while there were still inside the plastic bags.
 |
 |
 |
 |
 |
 |
 |
 |
 |
 |
 |
 |
Same glossy finish, just like Strike and Akatsuki. Fortunately on my side, there were no melted/warped parts on the runners. I saw some builders complained that some of the parts were not fully molded. :/
I experienced this case when my client hired me to build his Destiny. I blamed myself for not inspecting the runners. He said it was okay and it became a lesson for me to fully inspect the runners while they were still inside the plastic bags.
There are 31 runners in the kit including the pedestal/launch pad/action base ( I don't know what's the exact word for it :v )
The Destiny's rear side is shown at the last page of the construction manual.
 |
 |
 |
The kit also includes some kind of 4-page sheet with the other gimmicks/dynamic pose of Destiny.
The next images will be the runners that I removed out of their plastic bags. What I didn't liked from Dragon Momoko's usual routine is putting 4 runners inside each plastic bag. This will result to scratches, stress marks, or possible broken pegs. Be sure to check the runners inside the plastic before you start opening them, so you can still return them to your seller/supplier.
Runners:
Runners:
 |
 |
 |
 |
 |
 |
 |
 |
 |
 |
 |
 |
 |
 |
 |
 |
 |
 |
 |
 |
 |
 |
 |
 |
 |
 |
 |
I don't like the quality of the black parts. That "sandy" texture is really annoying even if you have a very sharp blade to trim the nubs. It leaves a visible stress mark.
Q: Why not use progressive sanding and stop making excuses about your nub problem?
A: Yes it was suggested to me. I just don't like doing procedures that consumes a lot of time. I know it's worth it, but I like rushing into things. :P
Another +1 for Dragon Momoko is their continued plan in using WS decals instead of dry transfers. I'm still in doubt regarding the quality of the foil stickers but I will use probably a few seals.
Head Unit:

So these are the parts for the head.

Many thought that Dragon Momoko failed when the V-Fin doesn't align well on the head. There was an issue with the head and that it doesn't fit correctly because of this red piece. I was advised to trim the red part (with the arrow) and sand that peg (encircled).
*credits goes to the original owner of this image*
 |
 |
 |
After sanding/trimming those parts from the previous image, I kind of managed to fit the part barely. As you can see, there's still a visible seamline. I should've cut the peg instead and superglued the whole thing. :v
I used uni ball signo metallic green on the eyes by the way.
I used uni ball signo metallic green on the eyes by the way.
Body Unit:
 The male pegs were tight. You might want to trim or sand them. The joints were also tight and pulling them off was a bit scary.

I'm in favor of tight parts, but having "too tight" parts may break the pegs each time you try to move the model.
 |
 |
 |
These were the issues I encountered on the body. But everything else was good.

Attaching the head to its body.
Coffee break while preparing the parts for the next unit.


Waist Unit:

Instead of the usual ball jointed mechanism where the body and waist can be separated, Destiny is different. You will need to build the waist where you can no longer remove it or separate it from the body.


Arm Unit:
 I love the articulation on the arms. Aside from your usual bend, the wrist can be tilted back and forth.

 |
 |
 |
I haven't checked the reviews for the original Metal Build Destiny of Bandai, so I'm guessing all of these gimmicks and features are actually from the original model.
So yeah, all credits to these cool articulation goes to Bandai :)
Shoulder Armor / Upper Body Unit:
 No snap fitting issues here.

If this was already included in Bandai's MB Destiny, then credit goes to them.
I'm amazed that even the shoulder armor is articulated in some way. The front and back parts can be flipped upward. This will give Destiny more range in posing.
 |
 |
 |
I'm amazed that even the shoulder armor is articulated in some way. The front and back parts can be flipped upward. This will give Destiny more range in posing.
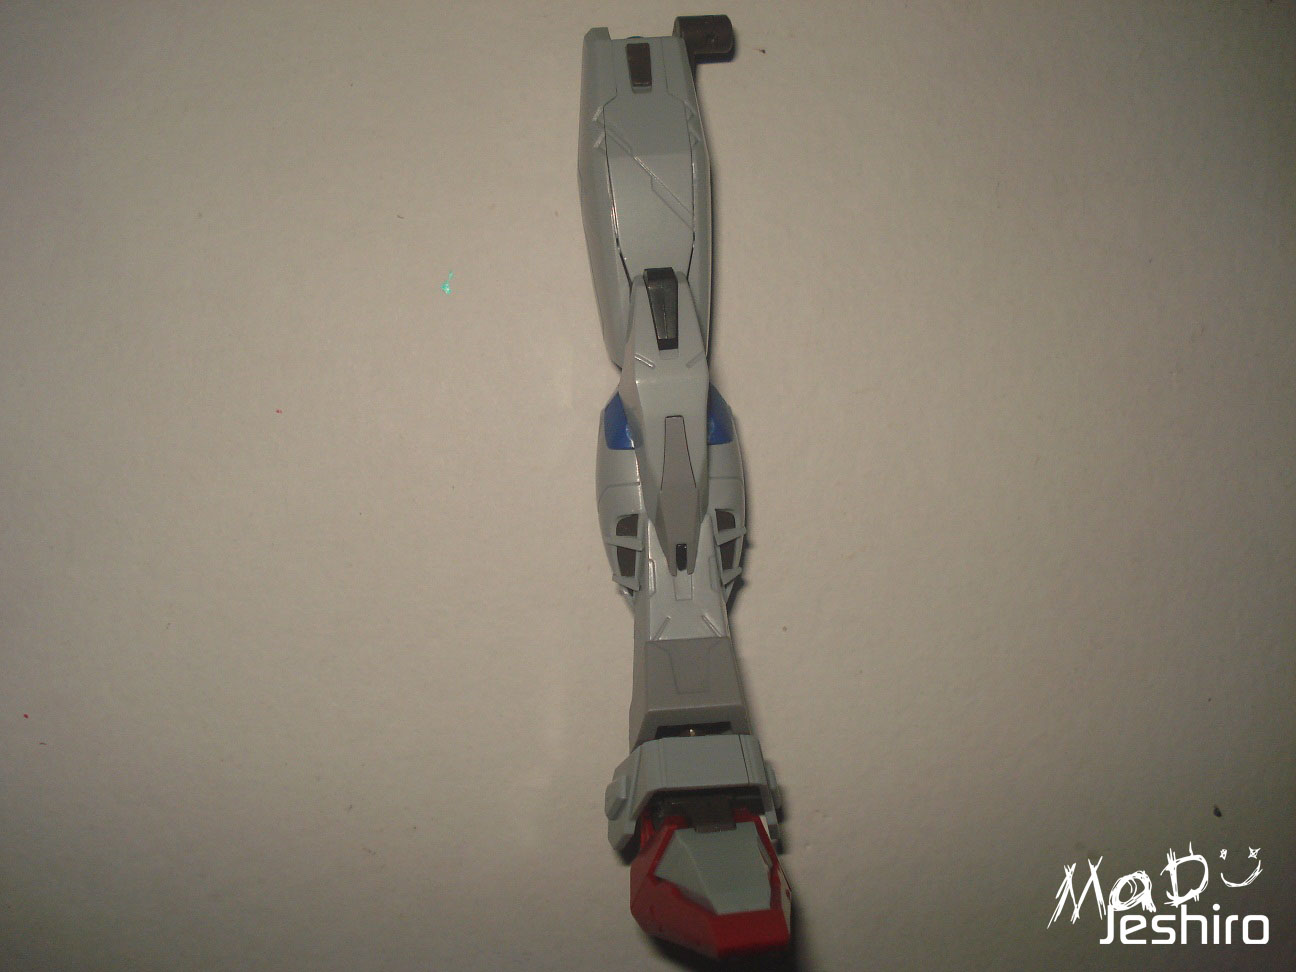
Leg Unit:


I had some problem with the leg.
The male peg where you attach the thigh's inner frame isn't that tough and it is prone to breakage.
I broke mine but the female peg (also acts a male peg) are the ones holding the thighs, so the articulation is still safe.
The male peg where you attach the thigh's inner frame isn't that tough and it is prone to breakage.
 |
 |
 |
I broke mine but the female peg (also acts a male peg) are the ones holding the thighs, so the articulation is still safe.
The leg can be bent that much and the flaps behind can be opened upward as seen on the image.
Side Skirts:

The side skirts are using ball joints so the articulation is nicer compared to Akatsuki and Strike.


Although, those long fins will surely hinder with the leg's articulation.


Although, those long fins will surely hinder with the leg's articulation.
And so here is Destiny Gundam standing without the backpack. So far so good, and I love the design of this model.


All credits and praise goes to Bandai's designing/engineering. :)


All credits and praise goes to Bandai's designing/engineering. :)
Backpack Unit:
Wings:

I don't have a bigger illustration board so I will only show the parts that makes one of Destiny's wings.

I don't have a bigger illustration board so I will only show the parts that makes one of Destiny's wings.
 |
 |
 |
Please do sand the male pegs on those black parts on top of the wing. They are quite tight and you might end up breaking them if you use force.
Main Backpack/ Weapon Holster:

Sorry I don't have an image of the finished backpack. I already attached the wings on it.
Pedestal / Base Stand:

I was planning to add some minor detailing here but I got lazy. :v


So here's the finished launch pad and I tried putting Destiny on it. It can handle the weight.
Speaking of weight and body proportion, I might share some notes about it on the "overall" section. Please do check it.


So here's the finished launch pad and I tried putting Destiny on it. It can handle the weight.
Speaking of weight and body proportion, I might share some notes about it on the "overall" section. Please do check it.


Weapons:
Beam Cannon and Anti Ship Sword:

Both the cannon and the Anti Ship Sword can be folded. You can attach them on Destiny's backpack unit.
 |
 |
 |
No snap fitting issues here and there are no issues either when you fold them.
Shield:


Even the design of the shield is re-engineered with a more sharp look. Credit goes to Bandai.

Beam Rifle:

The beam rifle's part separation isn't that overwhelming but the detailing makes up for it.


Decals:


Now its time for my favorite section - Decals!
I will include a short tut how to use the water slide decals. This was requested by a friend of mine (Click Here).


I will include a short tut how to use the water slide decals. This was requested by a friend of mine (Click Here).


There were lots of logos in the WS decal sheet. and there weren't enough caution seals.
Good thing I have the extra WS decal sheet from Strike. :D

Leftovers. lol
Completed Model:
Making him stand like this is a bit hard.
 |
 |
 |
Making him stand like this is a bit hard.
The wing is really heavy and the weapons are not even included yet. >,<
I would like to point out that it's easy to pose Destiny using the action base, so I figured doing the pose w/o it. This is to give the model a preview what it looks like without the base stand. :)
 |
 |
 |
I would like to point out that it's easy to pose Destiny using the action base, so I figured doing the pose w/o it. This is to give the model a preview what it looks like without the base stand. :)
As figured, the side skirts do hinder the legs articulation and can be bend this far out.
There were no problems with kneeling though :D

Opening the wings. :)
I will add the blast effects later.
I will add the blast effects later.

Now making him stand with the weapons on the back.
I need to lean him a bit to the front in order to balance the weight.
I need to lean him a bit to the front in order to balance the weight.


The Anti Ship Sword aka "Arondight" is really heavy. O_O
The ball joints of the hand cant hold the weight and will sag down.
The ball joints of the hand cant hold the weight and will sag down.

Compare to the beam cannon, it has no issue at all


Adding the blast effects on the wings..
I would like to apologize for my crappy shots and poor lighting quality
I would like to apologize for my crappy shots and poor lighting quality
 |
 |
 |
 |
 |
 |
Plastic Quality: 7/10
Detailing is great and it looks actually the same replica of Bandai's MB. Credit will go to Bandai for this one and there's no arguing with that fact.
Snap Fitting: 6/10
There were lots of tight parts along the way. And because of these, there's a tendency for possible broken pegs if you're not careful. :/
I already sanded those parts but the issue is still there. >_>
Articulation: 7/10
I would like to go lower than 7 because I can't stretch the legs. But doesn't mean the focus of articulation should only be seen on the legs. As you saw earlier there's a nice range of articulation on the arms and even on the body. I think Bandai thought of this ideas really carefully and to match Destiny Gundam's information when it comes to battle.
Gimmicks: 8/10
The high rating was meant for the weapons and and few pointers from the articulation section.
Extras: 7/10
It was nice of Dragon Momoko to add the launch pad/base stand and the blast effects for the wings. Bandai's version is 10x epic than Dragon Momoko, but it was the "cheaper" shortcut. I also like the part they included custom-designed seals/ waterslides. It was just a bit of a shame there were less caution seals added. It's not a big deal but I really do love applying lots of seals on a model to make it look "alive".
Overall Rating: 8/10
I hope the ratings will help you decide if you want to get the Destiny Gundam of Dragon Momoko.
So regarding the slim design or proportion of the body, the metal inner frame was designed by Bandai to hold the weapons firmly, and to make sure some of the body parts can be moved/rotated well. I was in this Gunpla-related group where he mentioned that Dragon Momoko's move of copying the kit without consideration why there was a metal inner frame would ruin the purpose of Destiny's design. I will hide his name as respect. And yes, he has a point. Of course, if you want to go for a cheaper route, which I did, then go for Dragon Momoko. As a builder, you guys will surely find some way to fix the kit's issues.
If you would like to save money and wait for Metal Build Destiny (Bandai), then go ahead. The problem is the price and begs the question "why not be practical for a bit?" But as the anonymous collector said, 'it would ruin the purpose of the kit'.
So if you would like to get the Metal Build goodness without the burden of spending too much, you can get Dragon Momoko. This will also gives you the chance to paint it Heine W. custom as well.
I would like to apologize for the crappy shots and/or any errors you might have seen in this review. :)

