
I would like to start that I already have a post/album about this kit a while back. I'm a lazy fellow so I will do some copy-pasting to transfer my notes.
This is my first time snooping around blogger and see if it can help extend my territory. What I mean about my territory is helping around other builders purchasing knock-offs/bootleg kits. And please do take note that just because most of my review will be about bootleg kits doesn't mean I haven't tried building myself authentic Bandai.
Anyways, back to the topic.
There was a huge commotion when Daban Model announced the release of Sazabi and thus affected a lot of modelers/builders in both negative and positive ways. I have my Own personal opinions why should I buy and why shouldn't I buy the kit, I will not keep these opinions to myself. And so it was the start of my days reviewing certain kits.
Many builders having very low budget (such as myself), were quite excited to try building the so-called "beast". But many were disappointed and you could say pissed-off because we bootleg consumers have something to show off. I bought one for myself of course.
It was already a rumor back then when Daban Model released Nu ver Ka that Sazabi might follow the line. I guess it's just your personal decision if you want to let your pride get in the way and rant on lots of threads even though you can't stop the inevitable. Let me point out that I'm not against purist or the bootleg consumers (I'm actually waiting to get my hands on Double X). Is it bad to be like Prime92 who purchases bootleg/knock-off kits and review them?
Let me remind some of you that I am NOT a professional builder. I didn't put that thought in my head each time I finish a project. Feel free to send some tips if you know any.
I would like to apologize that there will be visible nub marks on the featured kit. My first 2 reviews doesn't have images of each runner but I eventually started adding them up when I got my Akatsuki. If there are any errors (spelling, grammar), please do mention them on the comments section. If there are also any errors on the terminologies used, please do correct me.
Runners:
|
|
|


Manual is same like Bandai where the Japanese texts are written, although few Chinese texts were added on the front and on the back.
35 pages in total. No other fancy stuff.
35 pages in total. No other fancy stuff.
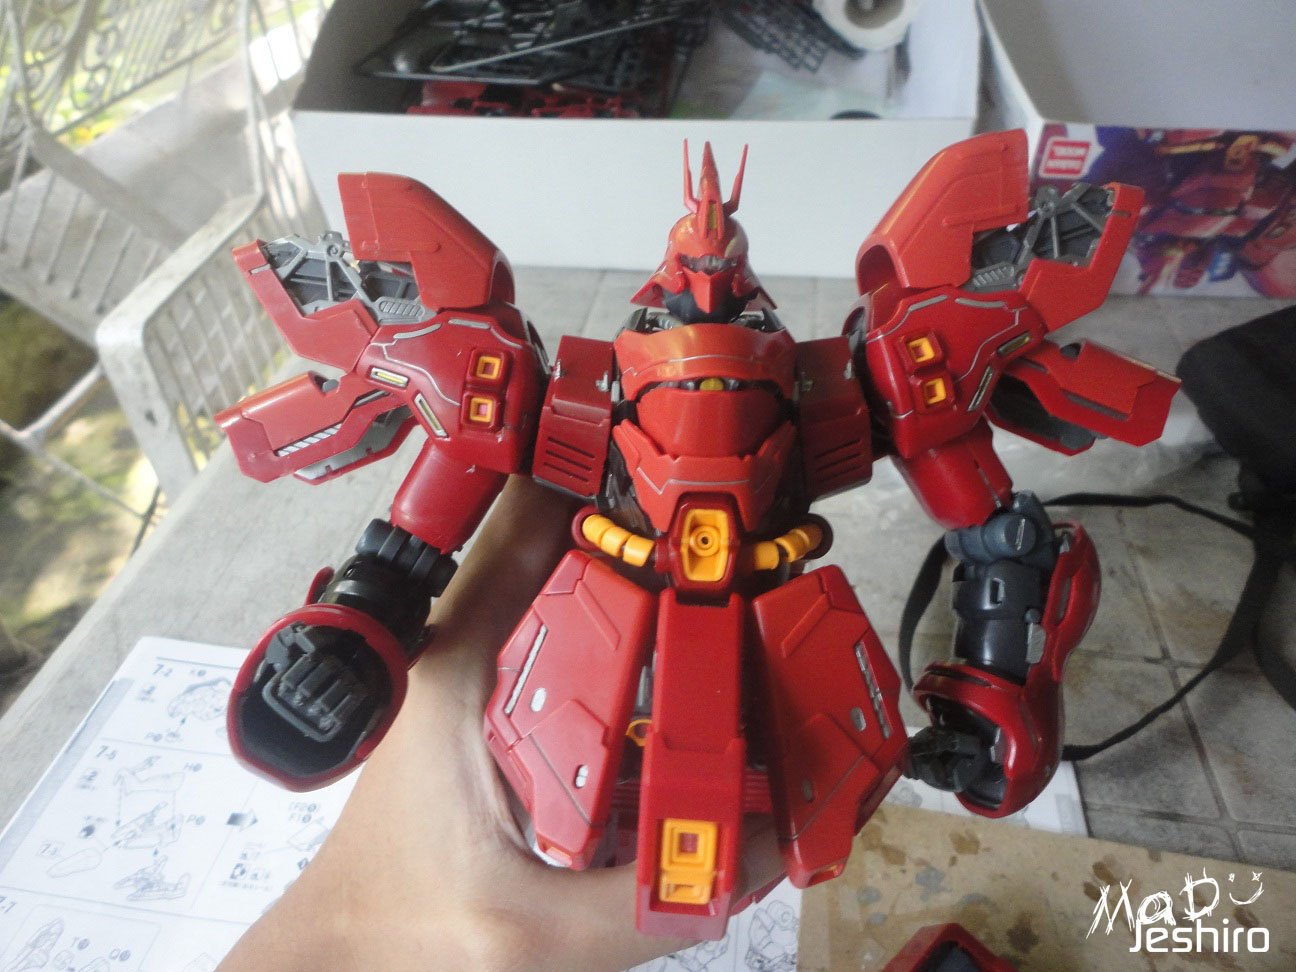
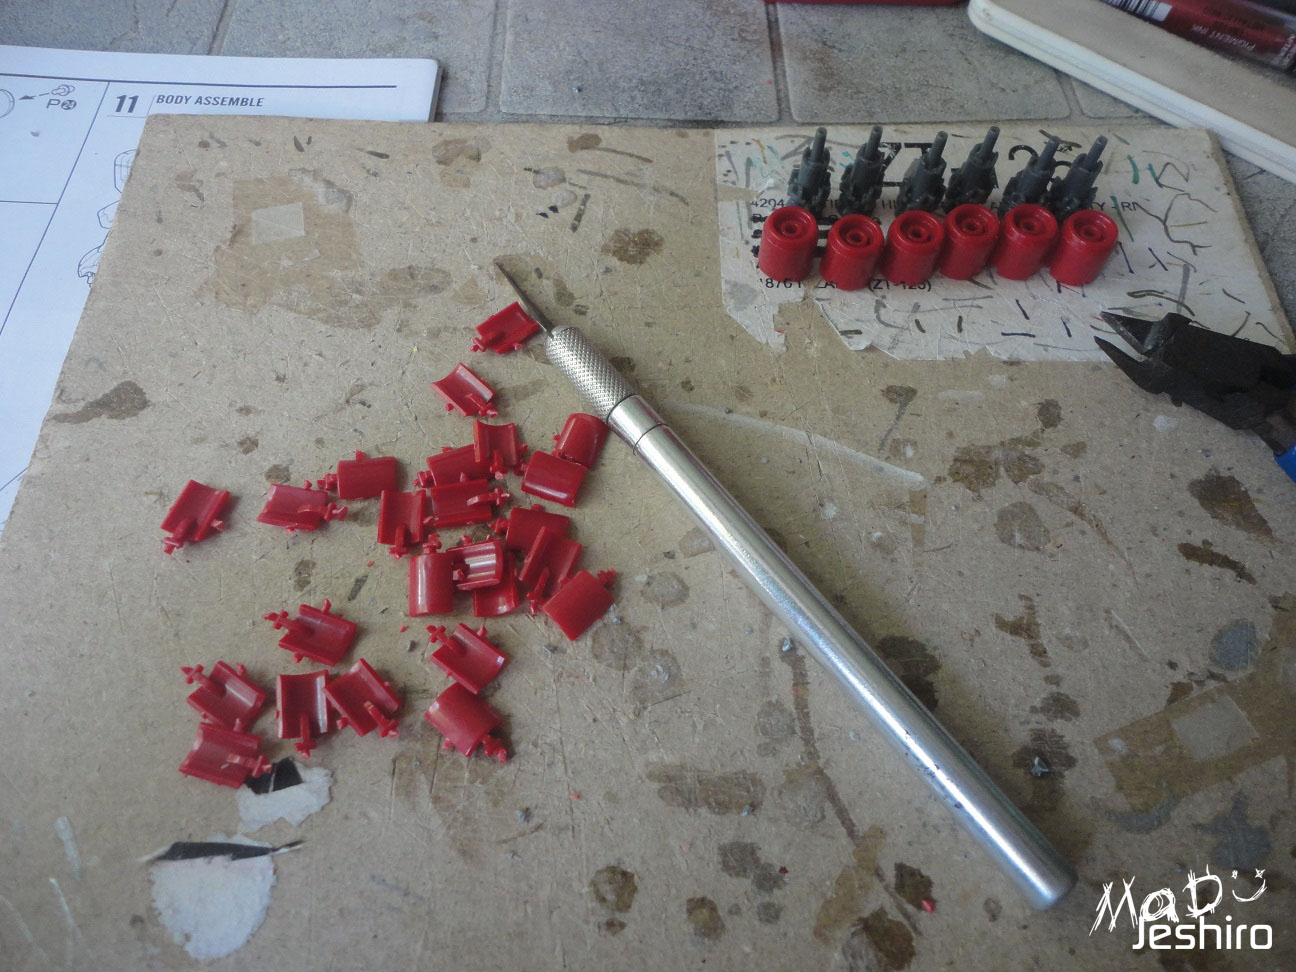
Body Unit:
|
|
|

Anyways, snap fitting is nice. I didn't encounter any issues so far. No need to use adhesives/glues/etc.
As for the panel lines, I used Sharpie Silver and scrubbed it with lighter fluid to erase the excess ink. A few rub from Sunshine/Sunsmile nail buffer and Im done :)
Parts separation is good. But there were some parts were the instruction manual says you have to add that reddish sticker. I didn't used it because my first impression that the quality would just be bad.
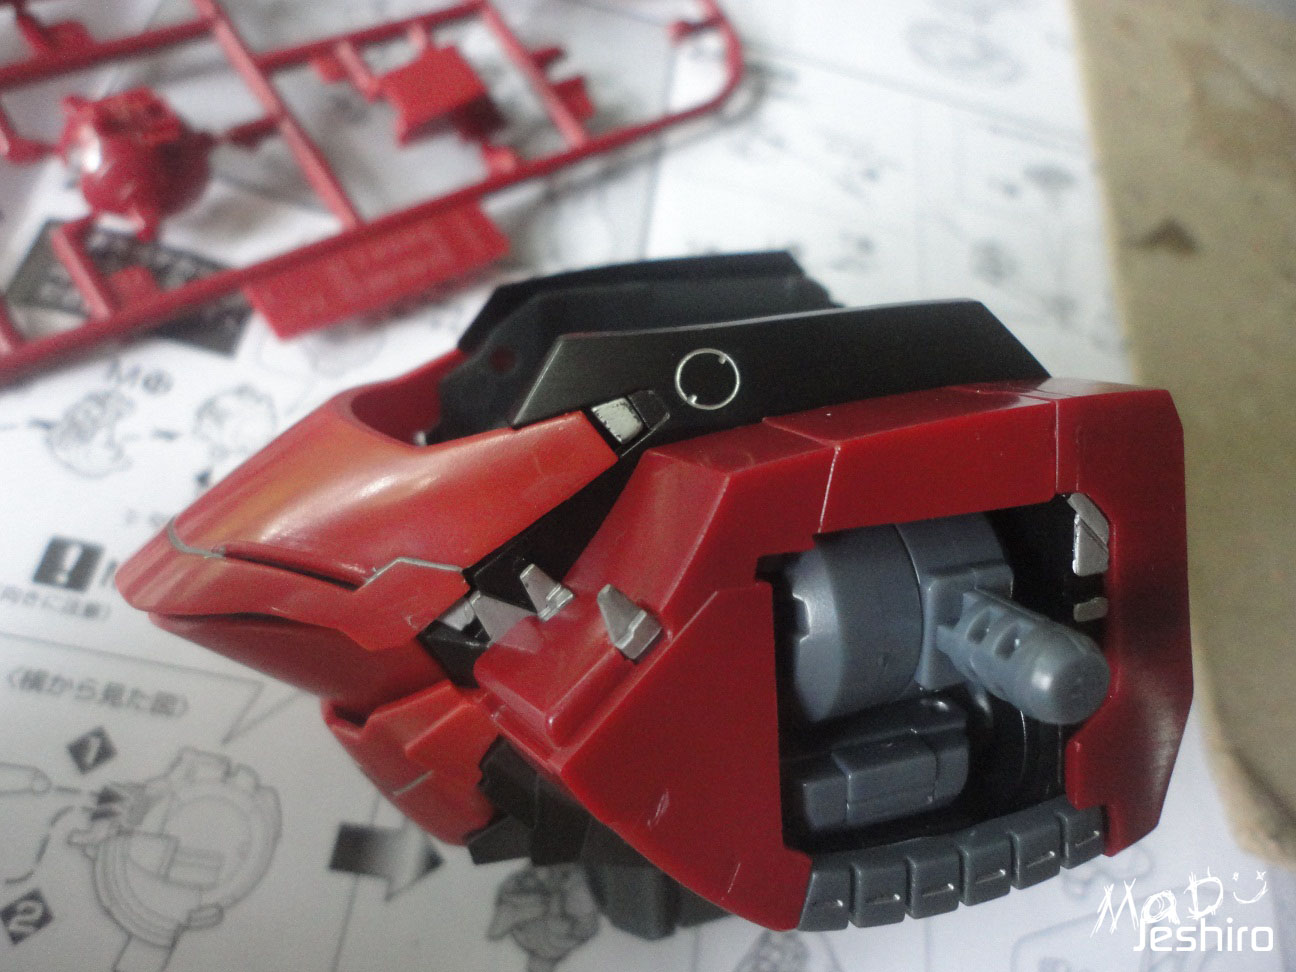
Head Unit:
|
|


There were few tight sections/pegs but not much of a big deal.
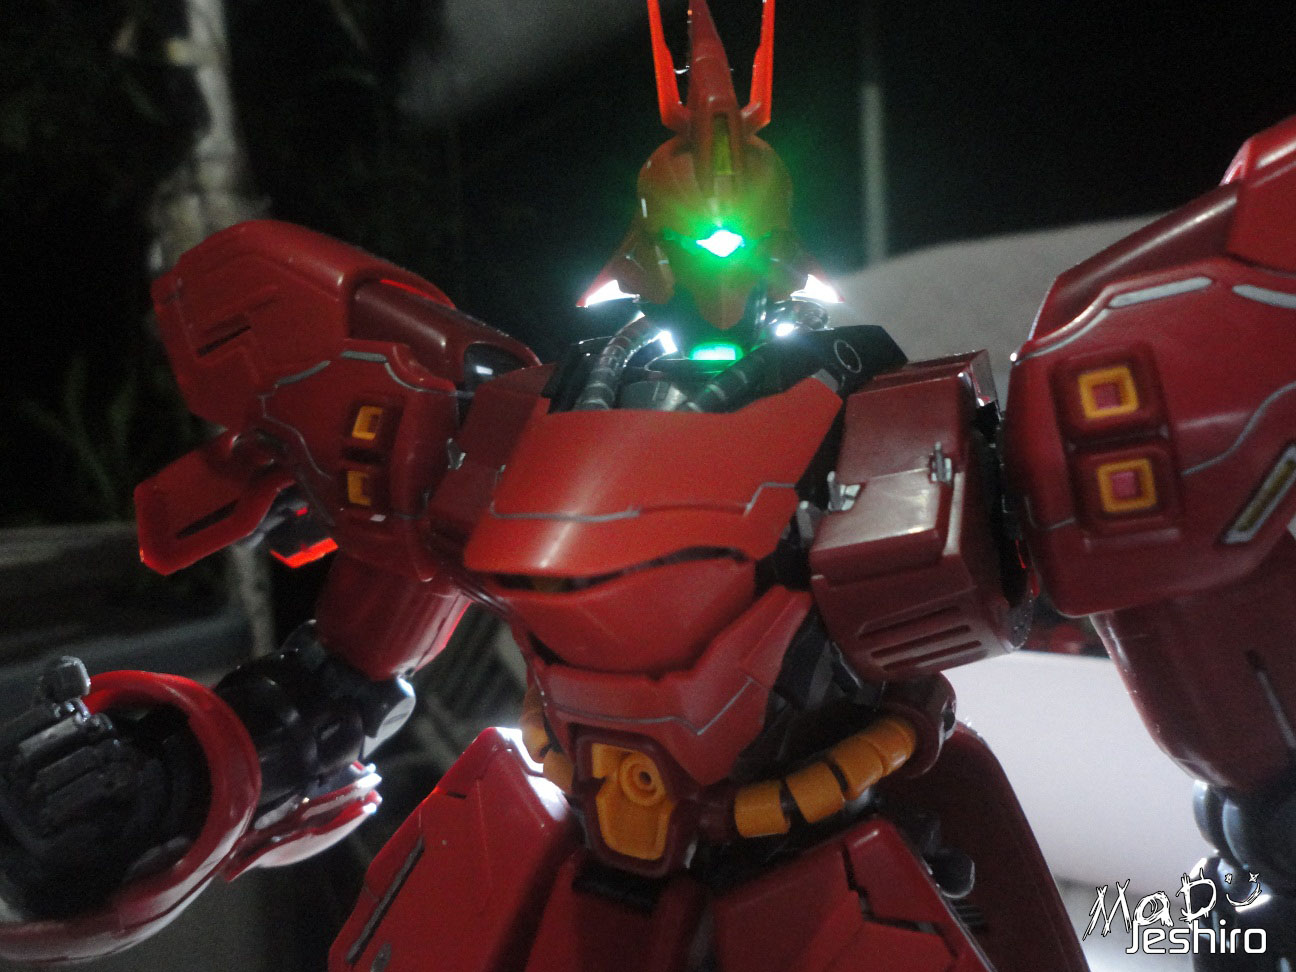
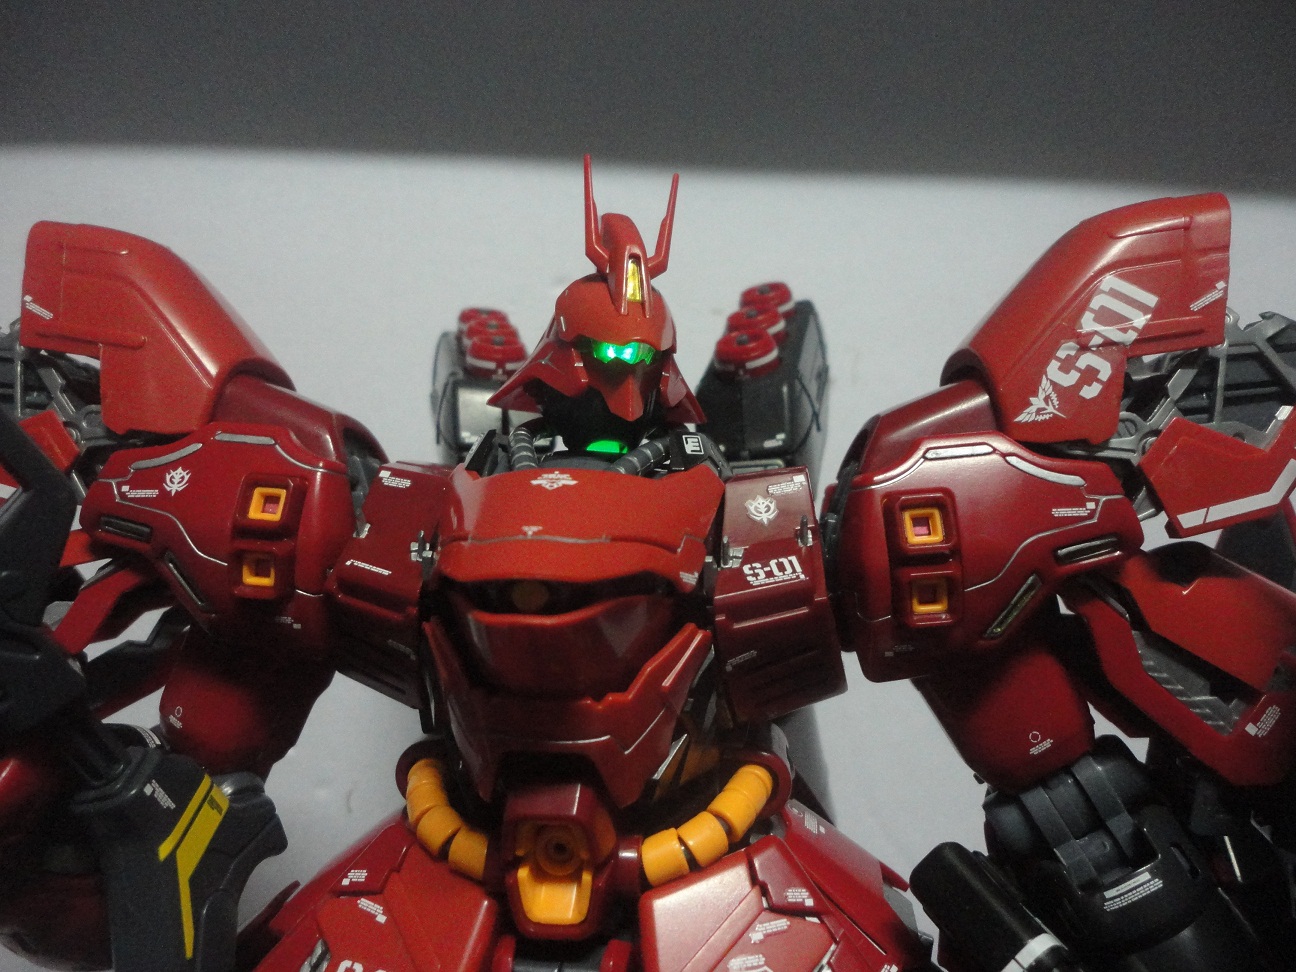
Daban managed to throw a nice giveaway; free LED with a pair of batteries to start lighting up the head of the Saza-beast! And I love it. :D
Arm Unit:
|
|
|


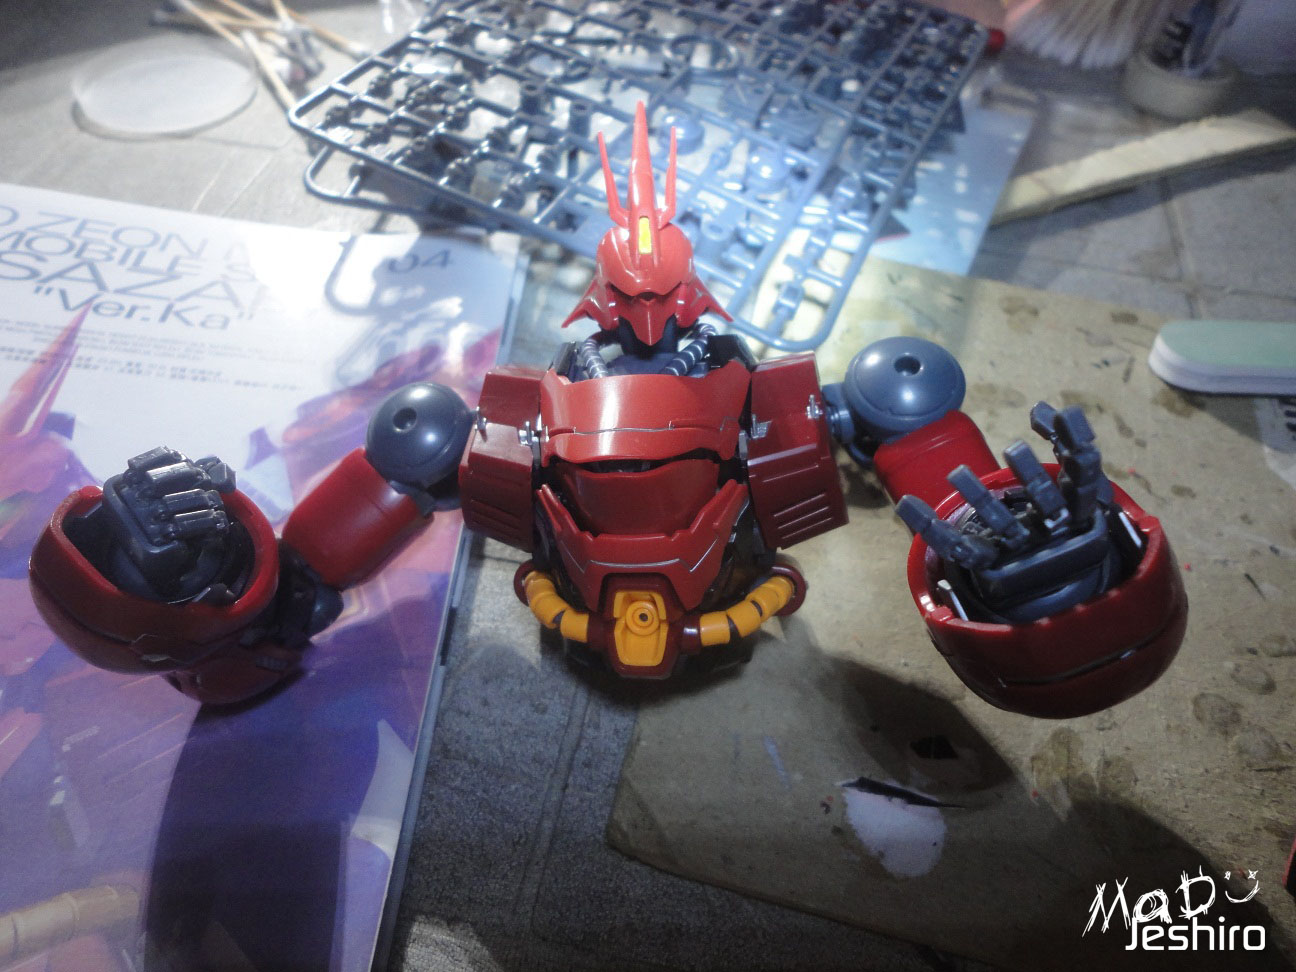
No issues so far but I am already expecting difficulty once I start placing the outer armor. And yes, it was a huge pain for me to build the arms, Locking the outer armor was a bit tricky or maybe I'm just doing it wrong. -_-
But it was fun and challenging. The issues I encountered are that small pieces that slides out (P2 & P1). It doesn't fit perfectly into H3 and H4 parts. Please take note of this.Same goes with B2-6 that should snap-lock onto part E1-4. I didn't trim any of these parts. Just need patience.
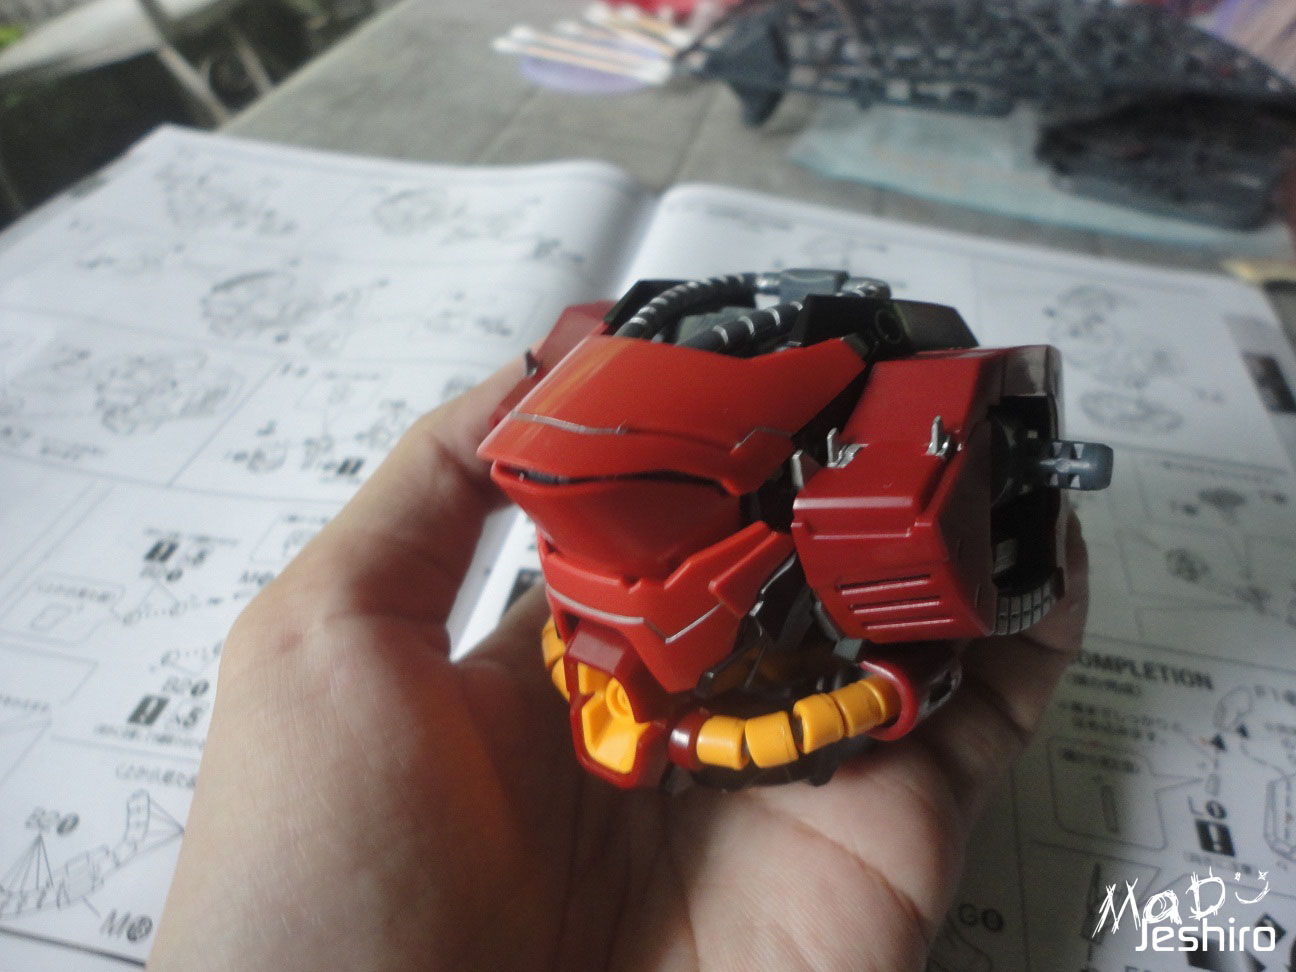
Upper Body/Shoulder Armor Unit:
|
|
|


The only issue I encountered in the Shoulder Armor/Upper Body section is that some parts are a bit tight. It took me a while to open up the parts and show the silver inner frame. Not sure if that's a negative or a positive issue :v
I used sharpie again and Uni-ball signo metallic red (looks a bit more of a pinkish color) to add some minor detailing.
Oh, I forgot to mention I also used the same uni-ball signo metallic gold on the head sensor instead of using the green waterslide seal.
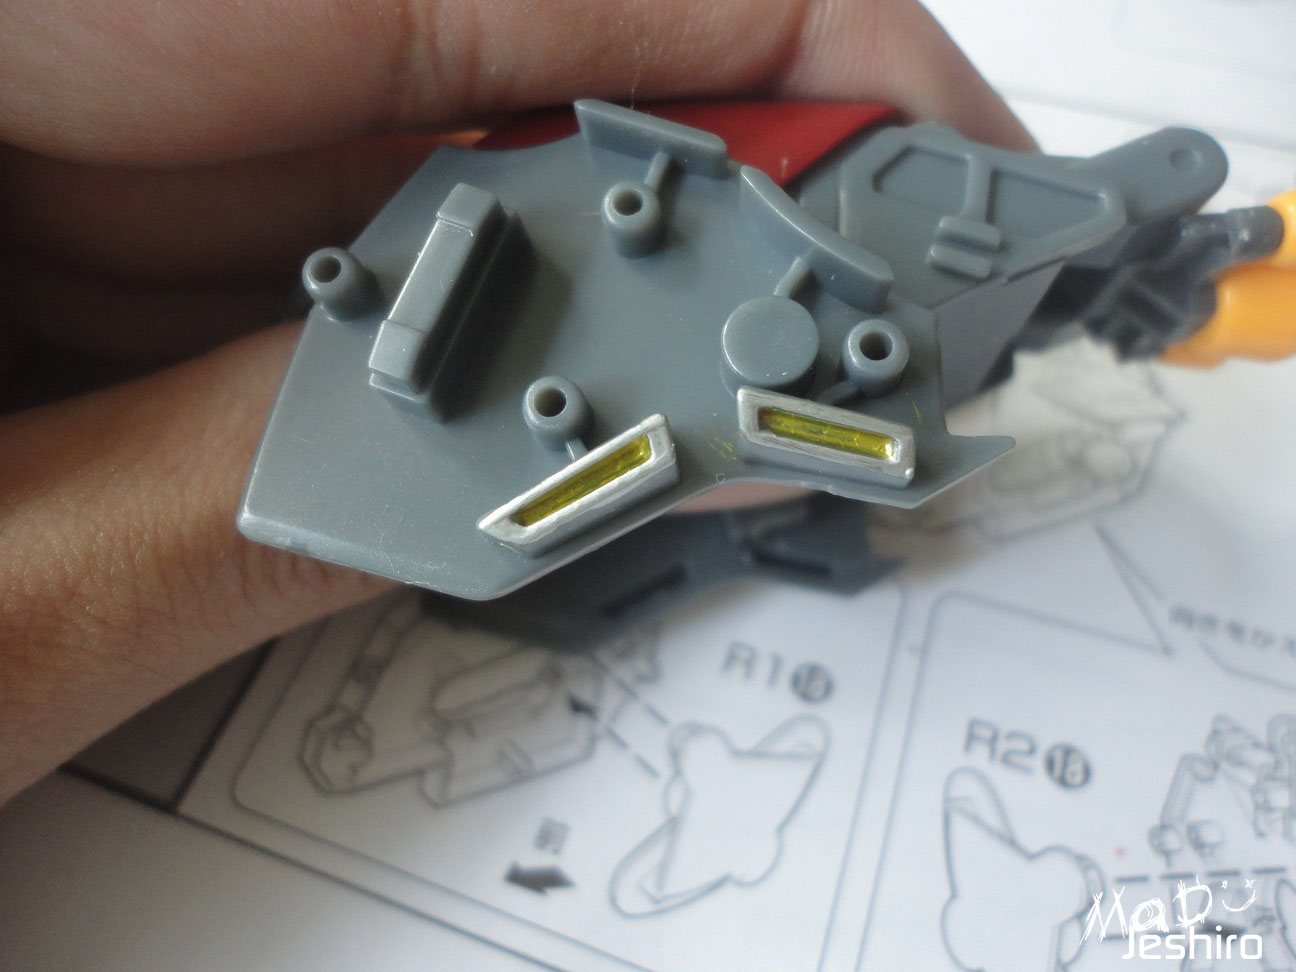
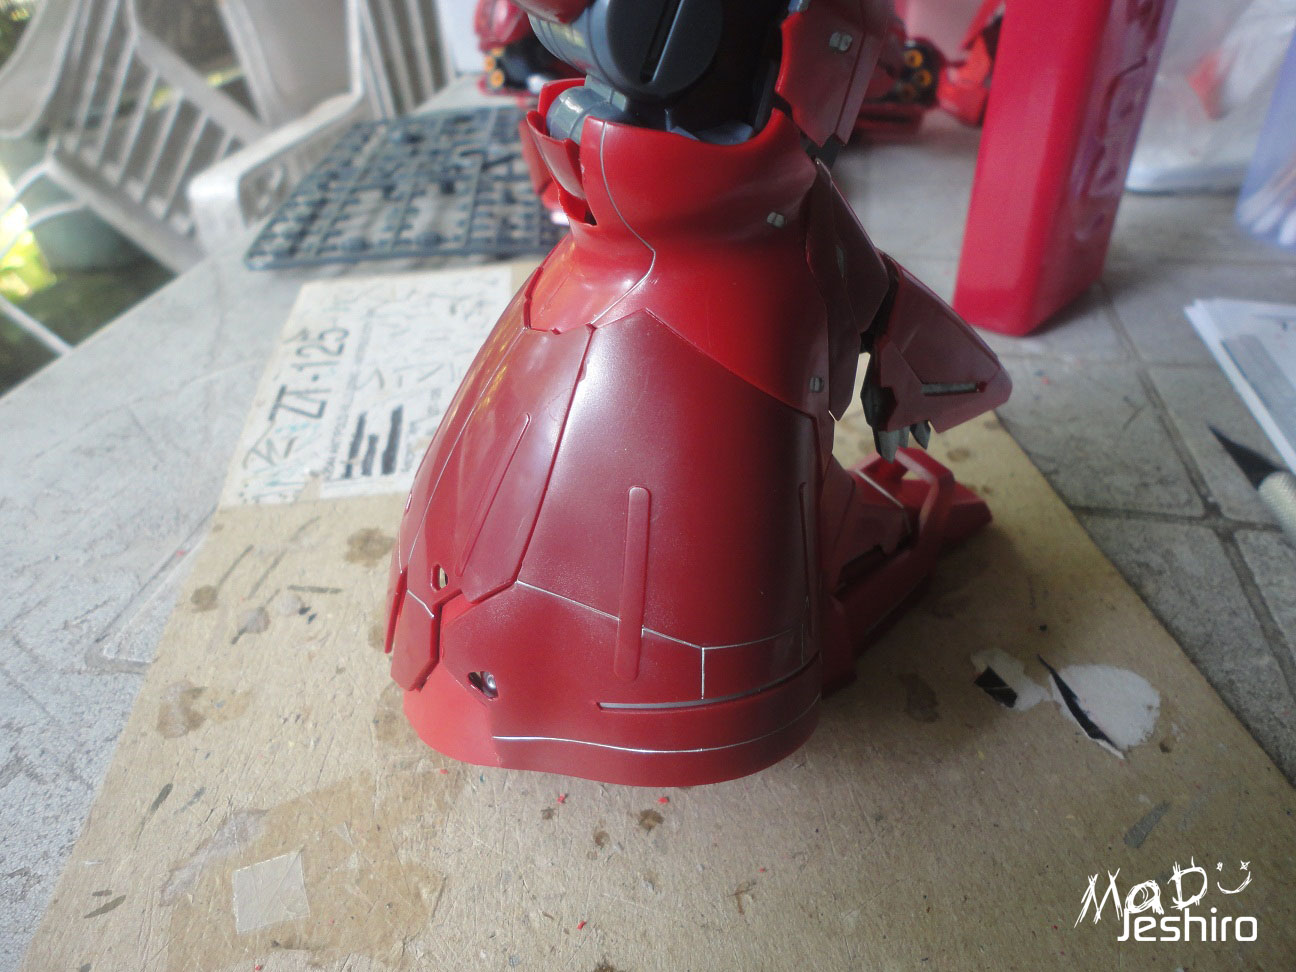
Waist Unit:
|
|
|


No issues on the front skirts.The waist part uses a ball-joint system to connect the skirts.
The only issue I encountered and I need to trim is part N5 (can't remember). This part is the one with ball joints around for the skirts. It was very tight and I can't get it to snap-lock in place. I needed to trim/sand the edges to finish the job.
The back skirt doesn't use a ball joint to fit it in the waist. It uses a similar C-clamp function where you can lift if up and down.
The issues here are:
- the 2 thrusters visible; the pegs are a bit fragile. I trimmed it a bit to avoid stress marks. Worst scenario is that you might break these parts if you use heavy force
- the part N5 is a bit loose. This is the part use to slide down (looks like a piston attached in the middle) the lower part of the skirt and reveal more silver parts of the inner frame.
But there were no difficulties when I tried the "transformation" on the back skirt. Just find some way to secure that piston. :)
Leg Unit:
|
|
|


|
|

Sorry for the visible nub marks I was in a rush here in Day 2 because I don't want to get caught by my parents that I bought another kit :P
This was a very new procedure in my own opinion.
In most kits, you usually start working on the feet, then start from thighs to knee and so on..
Here in Sazabi's mechanism and inner frame design, you will start from feet and build it all the way up to the thigh. And there are no issues here. Well, there were lots of tight parts but that's a MUST for me.
Articulation is nice but the range is very limited because it's using a ball joint system on the waist. But I think Bandai has its own reasons why they used such mechanism instead of the male/female peg. The large bulky design of the legs also decreased the range of articulation.
I will admit it wasn't easy for me to fit the outer parts perfectly. If I would sand them just to fit the parts in its Normal look, I might just ruin it with lots of ugly scratches.
I have no plans painting the kit since I'm a pure "Straight Builder". I will do the transformation when I'm done with the whole kit to "cover" these flaws :P
Lighting the LED:


Backpack Unit:
It's my 3rd day building Sazabi and so the pain continues..
And here I thought my days with Nu ver Ka's redundant funnels are over.
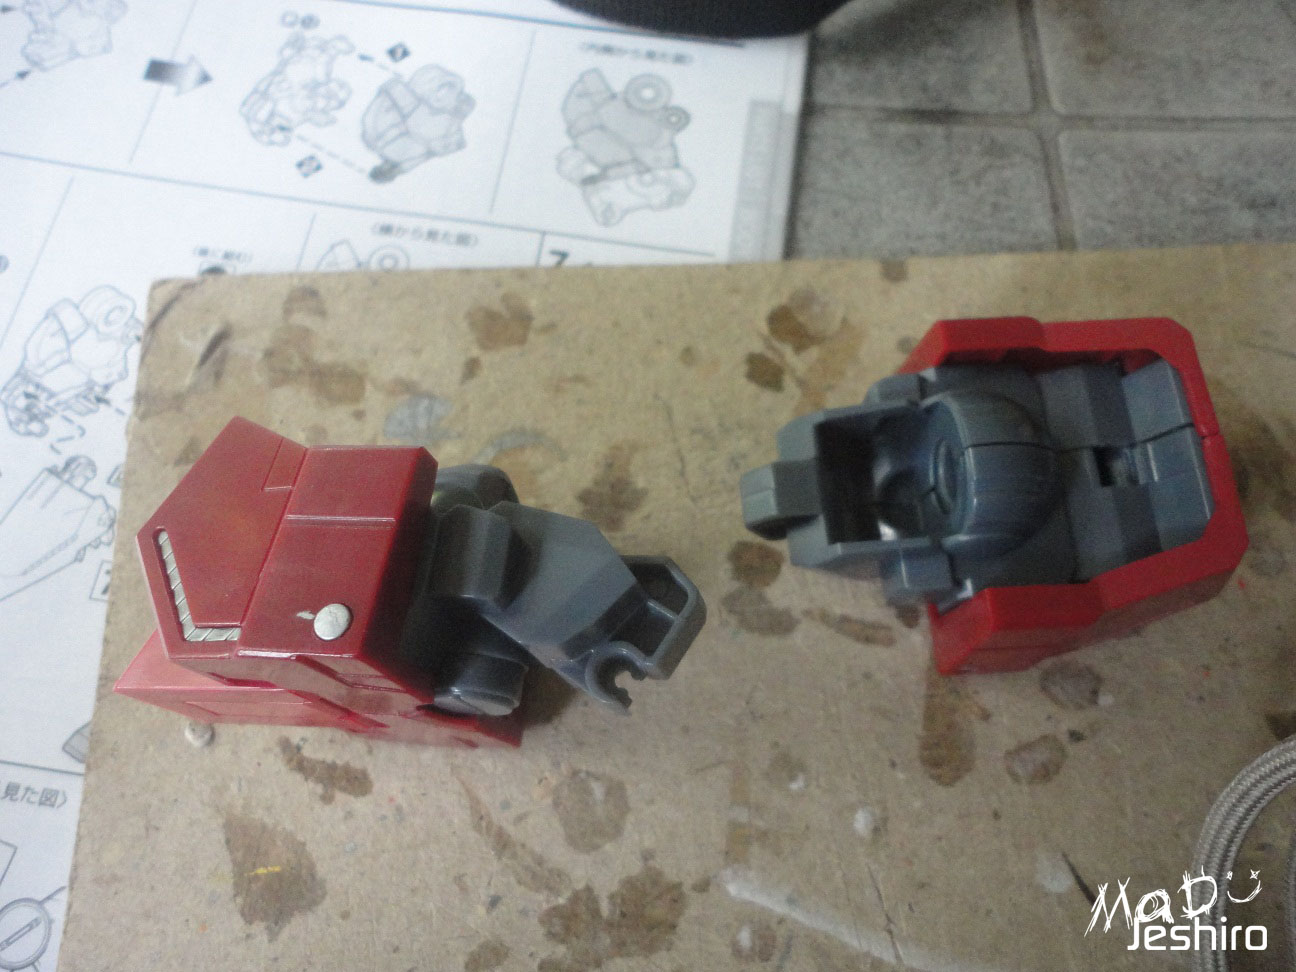
Good news, there weren't any odd issues in this section. I don't have a picture of the finished product of the backpack too. But I would like to say that the black part isn't totally black >_>
Probably a factory defect where the duplicate runner is grayish. This made the backpack a bit weird with half gray-half black color >_>
And here I thought my days with Nu ver Ka's redundant funnels are over.
Good news, there weren't any odd issues in this section. I don't have a picture of the finished product of the backpack too. But I would like to say that the black part isn't totally black >_>
Probably a factory defect where the duplicate runner is grayish. This made the backpack a bit weird with half gray-half black color >_>
Weapons:
|
|


I used Uniball Signo White to add some details. I think this is the only part where I used glue. The magazine of the Beam Shot falls off a lot.
The long rifle took me a while to build it because of the tight female pegs. I scraped them a bit to avoid the stress marks.I don't have other images for the Long Rifle, sorry. :(
The articulated manipulators are a bit tight. I like that but it also made me worry I might break the fragile fingers when twisting/moving them. Take this into consideration.
Decals/Seals:
|
|
|


Credits to Bandai they used waterslide for this big kit . I remember the last time I applied dry transfers on Sinanju and it was a pain.
Yeah I added minor coloring with Uniball Signo gold and red.
Finished Product:
I will add some extra comments regarding Sazabi's articulation
 |
 |
 |
Raising the heavy shield made me worried if the arms can handle the weight. To my surprise, there were no problems. I already applied some nail polish on the polycaps to avoid having that soggy joints.
My first impression regarding the "ampaw" body was replaced with awe. I'm not very good with posing but I do love this one and I kinda remembered Zeta 2.0's boxart XD
Yeah I take back what I said that Sazabi isn't good and too light. Seeing the kit standing up firmly denies my first negative impression.
 |
 |
 |
It was a problem holding the beam shot and long rifle. I needed to pull out the manipulators first, attach the armaments, before placing them back.
Because of the rounded and bulky design of Sazabi's arms, it was very hard to give it a "straight aim" pose. It's not a big deal though.

If you're planning for a straight build - Go for Bandai.
But if you want to test your skills in modding and painting, then try Daban without the risk of spending much when the outcome is a failure.
Please try to put that "pride" aside if you want to use spare parts for your authentic Bandai. Unless people will sniff your kit and tell you that it's not a legit Bandai kit. Just my opinion. :)
Comments/Notes from others:
"Some parts of Daban's Sazabi are different from Bandai's. Example here is the upper thighs, which are longer in the Daban version."
- creds to Damian D.
I will post more reviews and I hope I can continue supporting this blog of mine.

